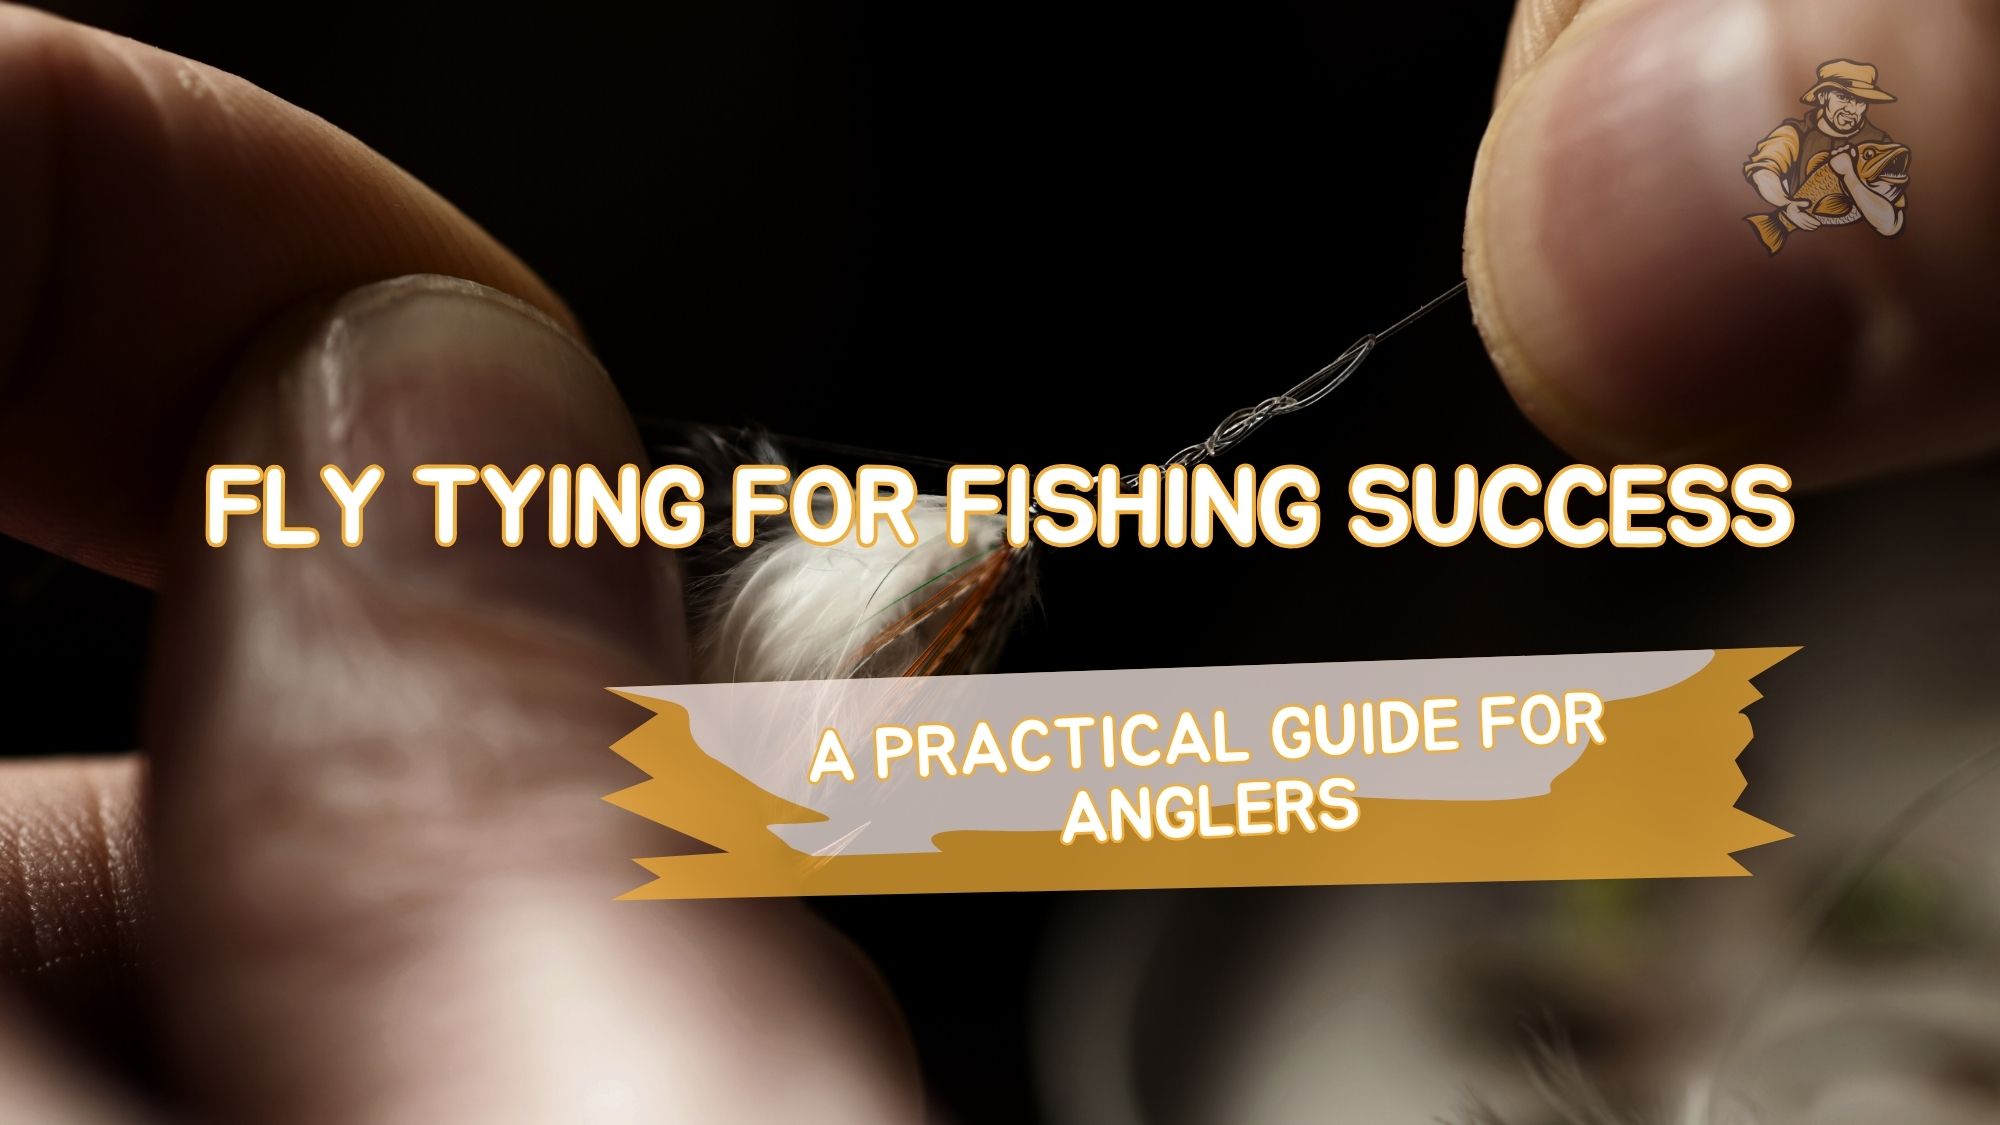
Fly Tying for Fishing Success: A Practical Guide for Anglers
By Adam Hawthorne | Last Modified: April 28, 2025
There’s something deeply satisfying about catching a fish on a fly you’ve tied with your own hands. I still remember the first rainbow trout I caught on a simple Adams dry fly I’d cobbled together at my kitchen table. The materials were basic, and the fly wasn’t pretty – but that fish didn’t seem to mind. After 30+ years of both tying and fishing, I’m convinced that creating your own flies isn’t just economical – it transforms your understanding of how fish think and feed.
Fly Tying for Fishing Beginners: Essential Tools and Materials
Getting started with fly tying doesn’t require remortgaging your house, despite what some catalogs might suggest. When I began tying flies back in the early 90s, I made the mistake of buying every material that caught my eye. Most sat unused while I worked with a handful of versatile basics.
For beginners, here’s what you absolutely need:
- A decent vise (doesn’t need to be fancy, but avoid the absolute cheapest)
- Sharp scissors for fine cutting
- Bobbin holder for thread control
- Hackle pliers for gripping small feathers
- Basic whip finisher for securing knots
- Thread in black, olive, and tan
- Hooks in sizes 12-16 for standard trout patterns
- Small selection of feathers and fur
Let’s be honest – you can definitely spend hundreds on specialized tools, but I’ve seen some of the most effective flies tied by anglers using basic setups. My fishing buddy Mike creates incredible patterns with a vise he bought at a yard sale for $12. It’s not fancy, but after some fine-tuning with a file and some oil, it works perfectly for his needs.
When choosing your first vise, I strongly recommend checking out the options discussed in this guide to choosing s fly tying vise.
Selecting Materials That Actually Catch Fish
Materials make the fly, and your selection should reflect the actual fishing you plan to do. When I started tying, I focused on generic patterns that work in most trout waters across Michigan.
Essential materials for beginners include:
- Dry fly hackle (grizzly and brown)
- Elk or deer hair
- Dubbing in natural colors (olive, tan, brown)
- Peacock herl
- Pheasant tail feathers
- Wire for ribbing
- Bead heads if you plan to tie nymphs
After teaching several friends to tie, I’ve noticed the biggest beginner mistake is buying exotic materials before mastering basics. Start with materials for 3-4 patterns you’ll actually fish, then expand gradually as your skills and interests develop.
For my first year of tying, I limited myself to materials for just five patterns: the Adams, Elk Hair Caddis, Hare’s Ear Nymph, Pheasant Tail Nymph, and Woolly Bugger. This forced me to really learn those patterns well, and I caught plenty of fish while developing fundamental skills.
Basic Fly Tying Patterns Every Angler Should Master
Some fly patterns have stood the test of time for good reason – they consistently catch fish. I recommend beginners focus on mastering a few versatile patterns rather than attempting dozens of complicated designs.
The Woolly Bugger – Versatility Champion
The Woolly Bugger might look simple, but it’s arguably the most versatile fly pattern ever created. I’ve caught everything from tiny brook trout to decent-sized largemouth bass on various sizes and colors of this pattern.
Basic tying steps include:
- Start with a hook sized appropriately for your target fish
- Add a bead head for weight (optional)
- Tie in a marabou tail about the length of the hook shank
- Secure chenille or dubbing for the body
- Palmer a hackle feather through the body for legs
The Woolly Bugger is forgiving to tie, making it perfect for beginners. My first attempts were pretty rough, but the fish didn’t seem to care. I’ve found that learning the technique for palmering hackle on this pattern translated to many other flies later on.
For color selection, I suggest starting with black and olive. I’ve had days where fish would only take a particular color, so having options is valuable. Last summer at Lake Superior, I went through five different colors before discovering the trout were keyed in on purple that day – something I never would have guessed without experimentation.
The Pheasant Tail Nymph – Trout Magnet
If I were limited to fishing a single nymph pattern for the rest of my life, the Pheasant Tail would likely be my choice. It imitates a wide range of aquatic insects and has caught me fish in virtually every trout stream I’ve fished.
I learned a simplified version of this pattern from an old-timer on the Au Sable River, and his practical approach to tying it has served me well. His advice about keeping the proportions natural rather than worrying about perfectly even wraps changed my entire approach to fly tying.
When talking about nymphs, I can’t overstate the importance of adding the right amount of weight.
The Elk Hair Caddis remains one of my confidence patterns for summer evening fishing. The buoyant elk hair keeps it floating high, and the basic design matches countless caddisfly species found in streams worldwide.
My first Elk Hair Caddis patterns were truly awful – the elk hair wings would spin around the hook, and proportions were way off. But after watching a guide demonstrate the pattern while we were waiting out a thunderstorm, I realized my mistakes. The key lessons were:
- Stack the elk hair carefully for even tips
- Measure the wing length properly (about the length of the hook shank)
- Compress the hair firmly but don’t crush it
- Keep the hackle sparse for better floating
I’ve found that my poorly-tied flies sometimes outfish commercial versions, something I attribute to their “messy” look appearing more natural to fish. There’s something to be said for imperfection in fly tying.
Advancing Your Fly Tying Skills: Intermediate Techniques
Once you’ve mastered basic patterns, it’s time to expand your skills and create more specialized imitations.
Proportions Matter More Than Perfection
One lesson that took me years to learn: fish care about proportions, not perfection. A fly with the right overall shape and size will often outperform a technically perfect tie that doesn’t match what the fish are seeing.
I spent way too much time trying to create “magazine-perfect” flies when I should have focused on:
- Matching the overall size of local insects
- Getting the silhouette right
- Using appropriate colors
- Ensuring the fly behaves correctly in water
During a guided trip in Northern Michigan, my perfectly tied Adams patterns were being ignored while my guide’s scraggly versions were catching fish after fish. When I asked him why, he pointed out that his proportions matched the actual mayflies hatching that day, while mine were too large and tidy. That lesson fundamentally changed my approach to tying.
Creating Realistic Wings and Legs
Wing and leg materials create realistic impressions that trigger strikes. For dry flies, materials like CDC (Cul de Canard) feathers, deer hair, and elk hair create lifelike wings. For nymphs and streamers, materials like pheasant tail, partridge, and guinea fowl create leggy impressions that suggest movement.
I used to overthink wings until a mentor showed me his simplified approach – focus on silhouette and behavior in the water, not microscopic details. Fish see the underside of floating flies, so how they sit on the water matters more than how they look in your vise.
When I’m tying smaller patterns, I’ve learned to use less material than I think necessary. Overloading small flies is a common beginner mistake I still make occasionally. As an old tying book stated: “When you think you’ve used enough hackle, remove half.”
Working With Difficult Materials
Some materials fight back when you’re learning to use them. Deer and elk hair can be particularly troublesome, spinning around the hook if not properly compressed. Hackle feathers can break if handled roughly. These challenges are normal and part of the learning process.
For deer hair in particular, learning to stack, measure, and compress properly takes practice. My first attempts at hair wing flies involved lots of frustration and material waste.
Creating a Productive Fly Tying Space
Your tying environment affects both enjoyment and productivity. When I started tying, my “setup” was a desk lamp clamped to a kitchen chair – not ideal. After developing neck pain from hunching over, I realized proper ergonomics matter.
Setting Up Your Tying Area
A proper tying setup doesn’t need to be elaborate, but should include:
- Good lighting (absolutely essential)
- Comfortable chair at appropriate height
- Sufficient flat space for materials
- Storage for tools and materials
- Magnification if your eyes need help (mine certainly do now)
I’ve tied flies everywhere from kitchen tables to specially designed stations. My current setup is a simple desk in a spare bedroom corner with an adjustable desk lamp featuring a magnifier. Nothing fancy, but it works perfectly for my needs.
For organization, I initially went overboard with expensive storage systems, most of which I never used effectively. Now I use simple plastic bins with dividers for most materials, and small ziplock bags for delicate feathers.
Time Management for Productive Tying
Batch tying similar patterns increases efficiency. Rather than tying one fly at a time, I’ll often tie 4-6 of the same pattern in one sitting. This approach saves time on material selection and mental switching.
During winter months, I set aside Sunday afternoons for tying sessions. With a Michigan winter howling outside, few things are more satisfying than building my fly collection for spring while watching football. I find tying 6-8 flies in one session to be the sweet spot before my attention wanders.
Regional Patterns for Great Lakes Success
Living in Traverse City gives me access to incredible fishing opportunities, but also demands specialized patterns for our unique conditions. Regional patterns often outperform generic flies because they’re designed for local insects and fish behaviors.
Michigan-Specific Patterns Worth Learning
Some patterns work particularly well in Great Lakes tributaries. The Michigan Hex nymph, designed to imitate our famous Hexagenia limbata mayflies, has been a consistent producer on the Au Sable River during early summer evenings.
The Great Lakes Caddis, with its distinctive olive body and brown hackle, matches our prevalent caddisfly species. I’ve had particularly good success with this pattern on the Manistee River in late spring.
For steelhead in our Lake Michigan tributaries, I’ve found egg patterns and stone fly imitations to be particularly effective. Learning to tie a good egg cluster pattern dramatically improved my steelhead success rate, especially in the Pere Marquette River during fall runs.
Adapting Standard Patterns for Local Waters
Standard patterns can be modified to better match local conditions. For instance, I tie my Woolly Buggers with slightly more weight for our deeper, current-heavy rivers. I also tend to use more olive and brown colors to match our prevalent forage base.
When fishing smallmouth bass in Grand Traverse Bay, I’ve found that standard patterns tied larger and with more flash produce better results. These adaptations came through trial and error, with plenty of fishless days teaching me valuable lessons.
Seasonal Fly Tying Strategies
Different seasons demand different flies, and planning your tying calendar accordingly makes sense.
Winter Tying for Spring Success
Winter is prime tying season for most anglers in Michigan. With snow often piled high outside, I use these months to replenish my fly boxes for the coming season. I typically start with early-season patterns like nymphs and streamers that I’ll need as soon as the ice breaks.
January is my month for tying larger quantities of staple patterns – primarily nymphs and streamers that work year-round. By February, I’m focusing on early spring mayfly patterns and some specialized streamers for the steelhead runs.
Summer Evening Sessions
During fishing season, my tying shifts to “just in time” production – usually quick evening sessions to replace lost flies or tie patterns for upcoming hatches. These sessions are more targeted, focusing on immediate needs rather than building inventory.
On summer evenings after work, I’ll often tie a few patterns that I plan to fish the next weekend. This keeps my boxes stocked without requiring major time commitments during fishing season.
Creating a Fly Tying Community
Fly tying can be solitary, but doesn’t have to be. Some of my most productive learning happened in group settings.
Finding Mentorship and Shared Knowledge
Local fly shops, fishing clubs, and online communities offer opportunities to learn from experienced tiers. I still recall watching an 80-year-old tier at a local Trout Unlimited meeting demonstrate techniques he’d developed over 60 years of tying. That 30-minute demonstration improved my hackle wrapping more than months of solo practice.
The Grand Traverse Area Trout Unlimited chapter hosts regular tying nights during winter months, where beginners can learn alongside experienced tiers. These gatherings have connected me with fishing partners and mentors who’ve significantly accelerated my learning.
Teaching Others – The Ultimate Skill Builder
Teaching someone else to tie flies forces you to articulate techniques you might perform automatically. This process strengthens your own understanding and often reveals gaps in your knowledge.
When I taught my son Tommy the basics of tying, I discovered several techniques I performed intuitively but couldn’t initially explain clearly. Working through these explanations made me more conscious of my own methods and ultimately improved my tying.
I began volunteering at a local scout troop’s fly tying sessions, which forced me to simplify instructions for complete beginners. This experience significantly improved my ability to focus on fundamental techniques rather than getting lost in details.
FAQs About Fly Tying for Fishing
How much money will fly tying save me?
Fly tying rarely saves money initially due to startup costs. However, after tying a few hundred flies, the economics start working in your favor. Commercial flies typically cost $2-3 each, while materials for a self-tied fly might average $0.25-0.50 once you’ve acquired the basic materials.
That said, most tiers (myself included) end up collecting materials they rarely use, offsetting some savings. The real value comes from having exactly the patterns you need when you need them, and the satisfaction of catching fish on your own creations.
What are the most common beginner mistakes in fly tying?
From teaching many beginners and making countless mistakes myself, these issues come up most frequently:
- Using too much material (sparse flies often work better)
- Poor thread control leading to loose wraps
- Improper proportions (usually making parts too large)
- Rushing through critical steps
- Buying expensive materials before mastering basics
The thread control issue is particularly common. I spent my first year tying with threadbare wraps until an experienced tier showed me how to maintain proper tension. This simple adjustment dramatically improved my fly durability.
Can I tie effective flies without expensive materials?
Absolutely! Some of my most effective patterns use simple, inexpensive materials. Hare’s ear dubbing, pheasant tail feathers, and simple hackle can create flies that catch fish consistently.
One summer when funds were tight, I challenged myself to tie using only materials that cost under $30 total. Those simple flies caught just as many fish as my more elaborate creations from previous seasons.
How many flies should I tie before fishing them?
Quality matters more than quantity. Rather than tying dozens of mediocre flies, focus on creating a few effective patterns that you have confidence in. I typically tie 3-4 of a new pattern before testing it on the water.
For a typical weekend fishing trip, I carry perhaps 30-40 flies total, covering various situations I might encounter. Having endless variety is less important than having confidence in the patterns you do carry.
How closely should flies match natural insects?
This depends on fishing pressure and fish behavior. In heavily fished waters with educated trout, closer imitation often matters more. In remote streams with less-pressured fish, general impressions usually suffice.
My approach has evolved toward what experienced anglers call “impressionistic” tying – capturing the essential characteristics that trigger strikes without obsessing over microscopic details. Size, silhouette, and color usually matter more than perfect anatomical imitation.
Conclusion: The Journey of Fly Tying for Fishing
Fly tying transforms fishing from a sport into something closer to art. There’s a profound satisfaction in understanding the entire process: observing insects, creating imitations, and using them to catch fish. That closed loop of knowledge and creation keeps me tying decades after starting.
For beginners, remember that perfect flies aren’t necessary for fishing success. Fish are generally more forgiving of tying mistakes than we imagine. Focus on fundamentals, learn from experienced tiers when possible, and most importantly, test your creations on the water.
Start with basic patterns, master fundamental techniques, and expand your repertoire as your confidence grows. Your fly tying journey will likely parallel mine – beginning with simple necessity and evolving into a rewarding craft that deepens your connection to fishing and the natural world.
The greatest lesson I’ve learned from fly tying isn’t about fishing success at all – it’s about observation. Learning to tie flies has taught me to watch more carefully, notice details I once missed, and understand the underwater world more deeply. That awareness makes every fishing trip richer, regardless of what the fish decide to do on any given day.

Meet Adam Hawthorne
I’m a lifelong fishing enthusiast who’s spent years exploring rivers, lakes, and oceans with a rod in hand. At Fishing Titan, I share hands-on tips, honest gear reviews, and everything I’ve learned about fish and ocean life, so you can fish smarter and enjoy every cast.
Share:
Meet Adam Hawthorne
I’m a lifelong fishing enthusiast who’s spent years exploring rivers, lakes, and oceans with a rod in hand. At Fishing Titan, I share hands-on tips, honest gear reviews, and everything I’ve learned about fish and ocean life, so you can fish smarter and enjoy every cast.
Related Articles
-
Kayaking Fishing: Ultimate Guide for Water Adventurers
There’s something magical about gliding across the water in a kayak with a fishing rod in hand. The stealthy approach, the intimate connection with the…
-
Bull Shark
The Bull Shark represents one of the most formidable apex predators in marine ecosystems worldwide. Known scientifically as Carcharhinus leucas, this remarkable species has earned…
-
Congo Tetra
The Congo Tetra stands as one of Africa’s most remarkable freshwater fish species, captivating aquarists and ichthyologists alike with its iridescent beauty and complex behavioral…
-
Gouramis
Gouramis represent one of the most fascinating and diverse groups of freshwater fish, belonging to the family Osphronemidae within the suborder Anabantoidei. These remarkable fish…


Fish Species
-
Oscar Fish
The Oscar Fish (*Astronotus ocellatus*) stands as one of South America’s most recognizable freshwater cichlids, earning widespread recognition both in its native Amazon Basin and…
-
Mickey Mouse Platy
The Mickey Mouse Platy (*Xiphophorus maculatus*) stands as one of the most recognizable and beloved freshwater aquarium fish in the world, distinguished by its characteristic…
-
Smallmouth Bass
The Smallmouth Bass represents one of North America’s most prized freshwater game fish, combining impressive fighting ability with remarkable adaptability across diverse aquatic ecosystems. Known…
-
Betta Fish Types: Identifying 15+ Beautiful Varieties
Walking into a pet store’s fish section always gives me that same feeling of wonder, especially when I reach the betta display. Those vibrant colors…


